For this illustration, I scanned a pencil drawing and dropped a scan of a watercolor wash underneath it. By setting the Layer Blending Mode of the drawing to Multiply, the white of the paper becomes transparent, so the Layers underneath show through and the pixels on that Layer are added to the tones of the Layers underneath. I then added tone to the background and figure by painting gray on Layers with the Blending Modes set to Multiply. Next, I used a textured Brush to block in the lighter areas (with the Layer Blending Mode set to Normal). Click on the images to enlarge.
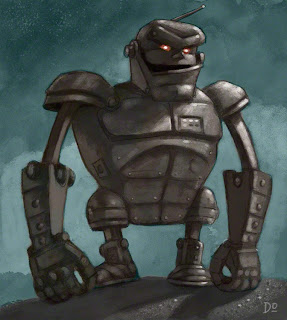 |
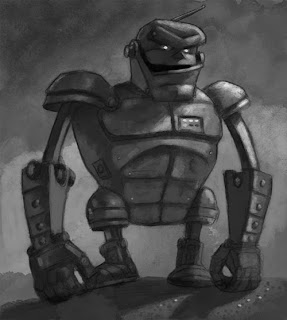
| Here's the finished "Evil Robot" illustration. |
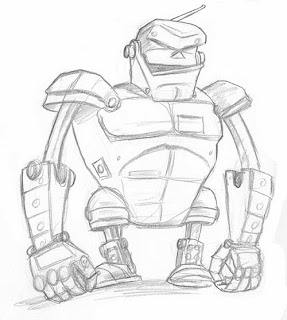 |
| It all starts with a pencil drawing. |
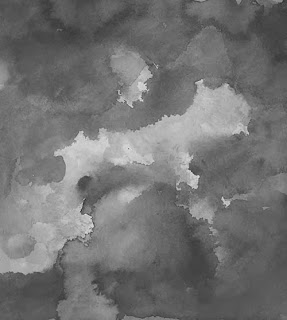 |
| Watercolor texture. |
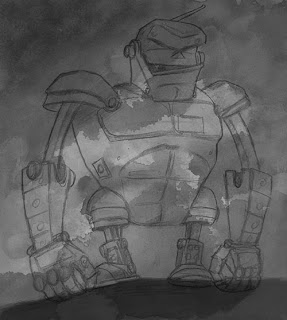 |
A composite of the drawing and watercolor wash. I've
started adding tone by painting on Multiply Layers. |
 |
| Painting in the tones of the robot on a Multiply Layer. |
 |
I've started blocking in the robot with opaque Layers
(Blending Mode set to Normal). |
I wanted to use a limited color palette, so I created a Color Fill Layer and set the Blending Mode to Color (which tints all Layers underneath). Then I added another Layer with the Blending Mode set to Color and painted with a rusty brown just on the areas with the robot and the ground (to contrast with the cooler blue-green of the background). And above those Layers, I added details and highlights with my custom Brushes on Layers with the Blending Mode set to Normal (so that the pixels are opaque). Please see the Layer screen shot below. Click on the images to enlarge.
 |
| Here's where you find the Fill and Adjustment Layers. |
 |
When you set a Color Fill Layer's Blending Mode to
Color, then the tones are preserved but the color shifts. |